
Image Blender
An AI image blender for two photos: the first is the base, the second is blended in. One free image per visitor, no sign-up.
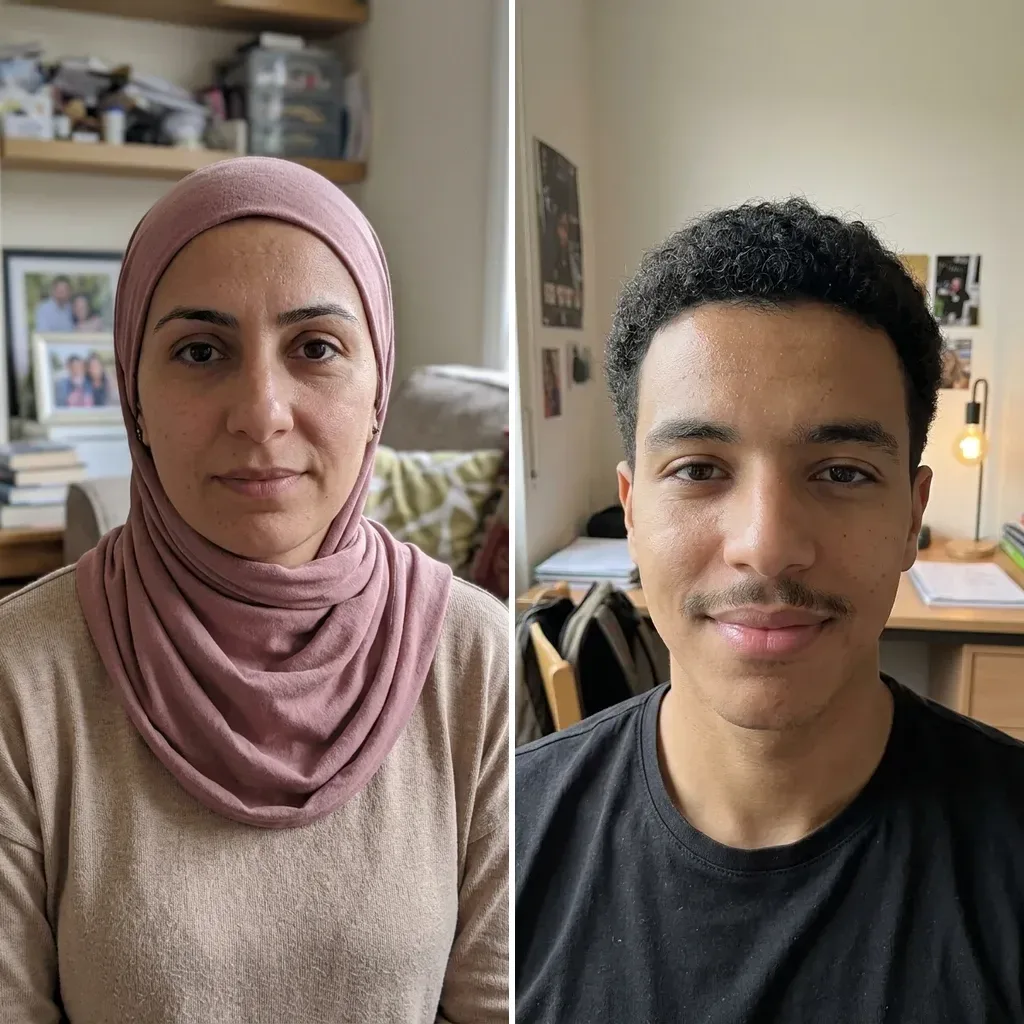 Before
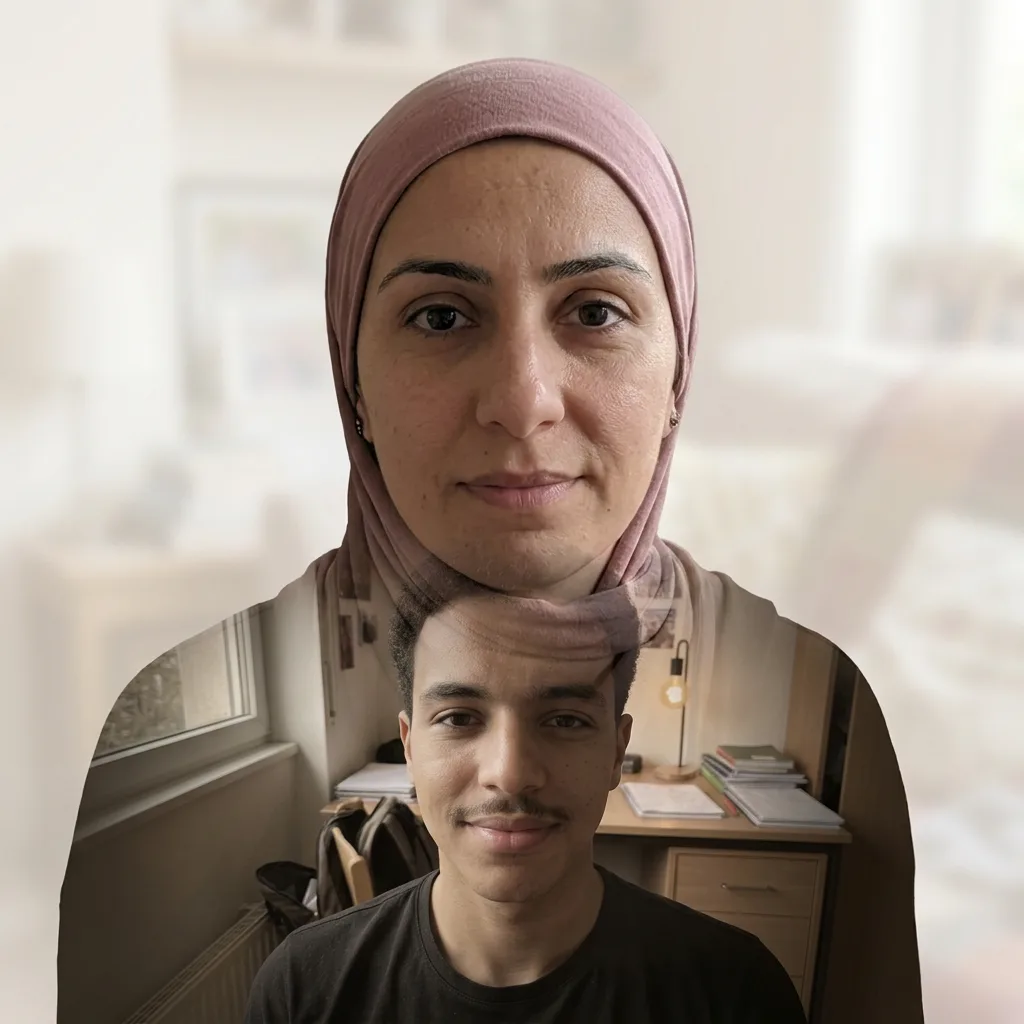 After
Example result. Upload your photo to make yours.
Examples
BeforeAfterHow to Blend Two Photos Into One
Two uploads, one style, one square picture. Order matters, so add your main photo first.
- 1
Upload photo 1, the main image
Click or drop the photo you want as the base; a portrait or one clear subject works best. JPG, PNG, WebP and HEIC are accepted, and HEIC is converted to JPEG in your browser.
- 2
Add photo 2, the one blended in
This is the scene, texture or second person that goes into photo 1. To swap the order, remove a thumbnail with the × and upload again, since the photos can't be dragged around.
- 3
Pick a Blend Style, add a note if you like
Double Exposure is selected by default. The optional note takes up to 500 characters, such as "warm sunset colors" or "black and white", and is added to your request.
- 4
Blend and download
The image blender returns one square picture, about 1024 x 1024 pixels, shown on its own while your two photos stay in the side panel. Download it right away: it leaves the page when you refresh.
Double Exposure: Photo 2 Inside Photo 1's Silhouette
Double Exposure is the default style of this image blender. The model is told to turn photo 1's main subject into one large head-and-shoulders silhouette and let photo 2 show through inside it, semi-transparent and scaled to fit. The first face should stay clear near the top, with edges fading into a light background.
A person in photo 2 is placed smaller in the lower half, so two faces don't overlap.
In our test with two portraits, photo 2's person and room sat inside photo 1's silhouette on a light background, but the edges came out hard. It read more like one photo cut into the other's outline than a soft film double exposure.
Style Mix: Photo 1's Scene in Photo 2's Look
Style Mix keeps the content and composition of photo 1 and repaints it in the colors, textures, lighting and artistic style of photo 2. Photo 2 is there for its look more than for its subject.
That makes the order the whole decision. Put the picture you want to keep first, and something with a strong look second: a painting, a neon street at night, a faded film print, a watercolor.
Reverse them and the model is asked for the opposite picture: photo 2's scene in photo 1's colors and style.
Flowing Blend and Dreamy Overlay: Both Photos in View
Flowing Blend merges the two photos so one flows into the other across the frame, with a soft, natural transition, as one artistic image. Two scenes with something in common, like a beach and a sky or a street and a forest, give that transition somewhere to go.
Dreamy Overlay lays photo 2 over photo 1 as a soft, translucent layer with a glowing light-leak feel, and both photos are asked to stay clearly visible. It aims for a hazy, warm look rather than a cutout.
In every style, the image blender asks the model to keep faces recognisable and undistorted, to match light and color across the picture, and to add no text, borders or watermark.
Picking Two Photos for the Image Blender
Choose your photos around the blend style you want.
- Make photo 1 the picture you want to keep; the image blender uses it as the base in every style.
- For Double Exposure, use a portrait or one clear subject as photo 1, so there is a strong head-and-shoulders outline to fill.
- Pick a first photo whose subject stands out from its background.
- Choose photo 2 for what it adds: a mountain view, a city or flowers for Double Exposure, a bold palette or painting style for Style Mix.
- Use clear, well-lit photos; a dark or blurry shot gives the model less to work with.
- If both photos are portraits and you pick Double Exposure, expect the second person to appear smaller and lower in the silhouette.
- Upload only photos of adults (18 or older), and only of people who agreed to it.
- Settle on one style before you start: One free image per visitor covers the whole site, and a new style needs a new run.